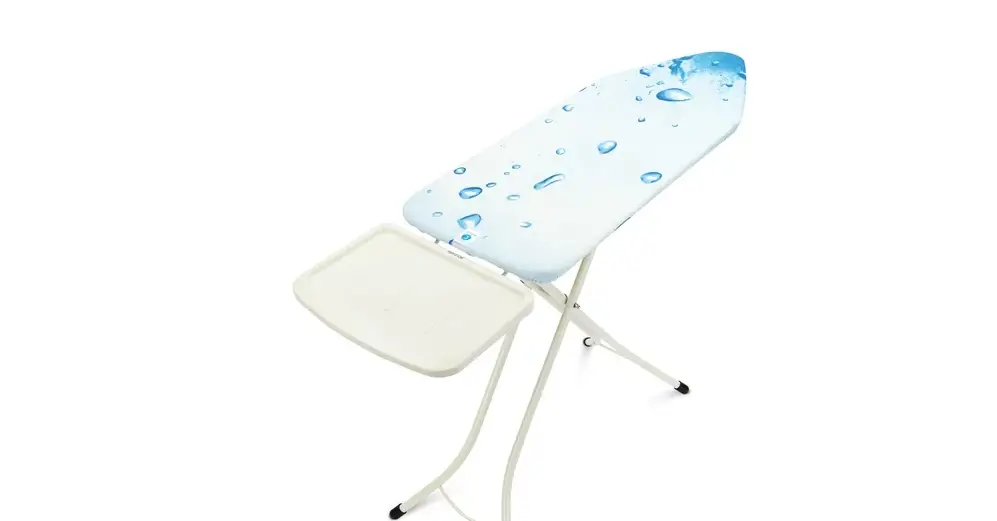
Learning how to close Brabantia ironing board can save you time and space. In this guide, we’ll walk you through each step in detail so you can easily and safely close your board.

You can get this ironing board by clicking here
Why Is Closing a Brabantia Ironing Board Important?
Brabantia ironing boards are designed for convenience and efficiency. Properly closing your board is important for several reasons.
First, a correctly folded board takes up minimal storage space, allowing you to maximize your area. Second, folding your board correctly ensures that you are storing it in a safe manner.
Incorrectly stored boards can tip over or unfold unexpectedly, leading to potential damage or injury. Third, folding your board correctly helps to prolong its life. Improperly folding could strain or break the board’s mechanical parts over time.
Click here for more articles like this – How to Iron: Easy Guide to Mastering the Art of Ironing
Step 1: Check the Ironing Board for Obstructions
Before you start the folding process, it’s crucial to inspect your Brabantia ironing board for any obstructions.
Make sure there are no clothes, wires, or any other items on or near the board that might interfere with the closing mechanism. Small objects caught in the mechanism can damage the board or make it difficult to unfold later.
Step 2: Remove All Items from the Board
It’s essential to remove any items from the board’s surface. This includes the iron, ironing clothes, or any other objects you might have placed there. Forgetting to remove an item could lead to it falling and potentially causing injury or damage.
Step 3: Lower the Ironing Surface
The next step is to lower the ironing surface to its lowest possible setting. Locate the lever underneath the ironing surface, usually situated near the center of the board.
This lever allows you to adjust the height. Gently push or pull the lever and lower the surface. Make sure you’ve lowered it to the minimum height for easier and safer folding.
Step 4: Unlock the Safety Lock
Brabantia ironing boards often come equipped with a child safety lock to prevent accidental folding or unfolding.
To disengage this feature, locate the safety lock near the lever used for height adjustment. Unlock it by either pulling it out or pressing it down, depending on your specific model.
Step 5: Fold the Legs
Now, you’re ready to fold the legs. Grasp the legs securely and gently fold them towards the ironing surface. Apply even pressure to ensure both legs fold in uniformly. This is important to avoid any imbalance which could cause the board to tip over while you’re storing it.
Step 6: Secure the Board
After folding the legs, secure the board in its folded position. Some Brabantia ironing boards come with a latch or strap that holds the board closed. If your board has this feature, lock it in place to ensure your board remains securely folded.
Step 7: Store the Ironing Board
Finally, with the board securely folded, it’s time to store it. Choose a location that is dry and where the board can remain upright to minimize the risk of it tipping over. It could be a storage closet, behind a door, or any other suitable space.
Frequently Asked Questions
Can I oil the folding mechanism of my Brabantia ironing board?
Generally, it’s not recommended to oil or lubricate the folding mechanism unless specified by the manufacturer. Consult your user manual for maintenance tips specific to your model.
My ironing board won’t lock in the closed position, what should I do?
If your ironing board doesn’t lock in the closed position, it may be due to a malfunctioning latch or a foreign object obstructing the mechanism. Inspect these areas and refer to your user manual for troubleshooting steps.
How to Close Brabantia Ironing Board: Conclusion
Closing a Brabantia ironing board is straightforward once you know the steps. By following this guide, you’re ensuring the longevity and safety of your ironing board. Happy ironing!