When you’re in a bind, and an iron isn’t within reach, learning how to iron clothes with a hair dryer can be an invaluable skill. This guide will provide you with detailed instructions to ensure your clothes look freshly pressed using just a hair dryer. It’s a perfect solution for travelers, students, and busy professionals alike. Prepare to enhance your clothing care routine with this clever ironing alternative.
Preparation: Laying the Foundation for Smooth Clothes
Start by selecting the clothing you need to de-wrinkle. Light to medium-weight fabrics such as cotton, polyester, and silk respond well to this method. Lay the garment flat on a clean, heat-resistant surface or hang it on a clothes hanger if you prefer.
Ensure the area is free from sharp objects that could snag or tear the fabric. If you’re using a table or countertop, you might want to lay a cotton towel underneath for added protection.
Moistening: The Key to Effective ‘Ironing’
Fill a clean spray bottle with distilled water to prevent any mineral buildup on your clothing. Lightly spritz the wrinkled areas with a fine mist. The goal is to dampen the fabric, not soak it, as this could lead to water stains or prolonged drying time.
If you don’t have a spray bottle, you can also dampen a clean cloth and gently pat the wrinkled areas. This process preps the fabric, making it more receptive to the hair dryer’s heat.
Ironing with a Hair Dryer: The Main Event
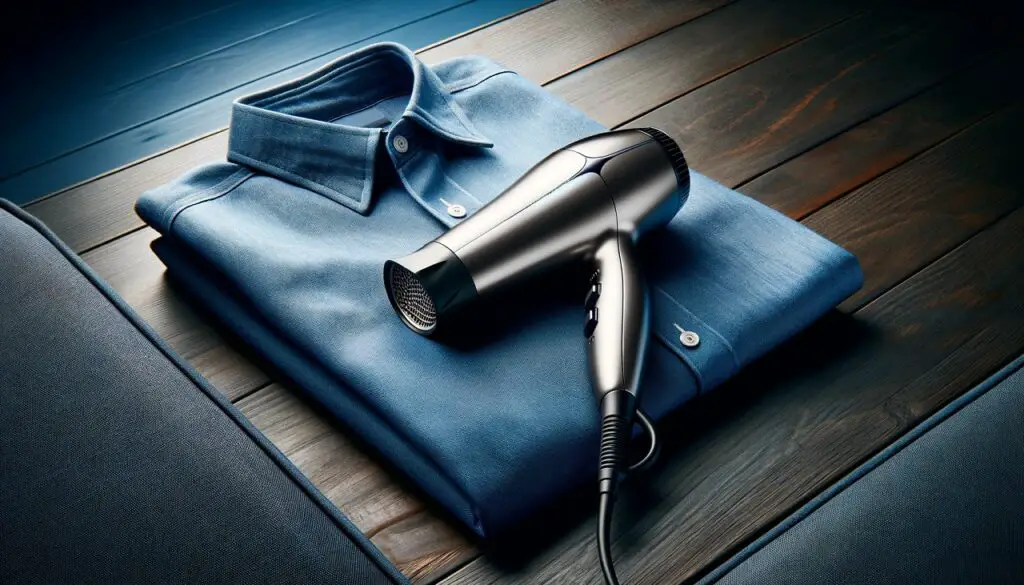
Turning your hair dryer into an impromptu iron is a convenient trick that requires careful attention to detail. Begin by ensuring your hair dryer is in good working order and that you have access to an electrical outlet near your ironing area.
Once it’s plugged in, select the appropriate heat setting. For most fabrics, a medium heat will suffice, but for more durable materials like denim or canvas, you may opt for a high heat setting. Delicate fabrics like silk or chiffon should be treated with a low heat setting to avoid damage.
With your hair dryer in hand, maintain a minimum distance of two inches from the fabric. This space is crucial to prevent scorching and allows the heat to disperse more evenly. Start with the larger areas of the garment, like the body of a shirt or the front of a trouser leg, and gradually work your way to more intricate areas like collars and cuffs.
Use a sweeping motion as you direct the hot air over the fabric, similar to how you would move an iron back and forth. This ensures even coverage and prevents overheating any single area. You can use your free hand to gently pull the fabric taut as you work, which helps the heat penetrate the material and smooth out wrinkles more efficiently.
As the fabric warms, you will notice the wrinkles beginning to soften. This is the heat relaxing the fibers, allowing them to become more malleable.
Keep the airflow consistent and cover every inch of the garment thoroughly. If your hair dryer has a ‘cool shot’ button, you can use this feature intermittently to help set the smoothness as you go, replicating the steam blast function on traditional irons.
For sleeves and pant legs, it may be helpful to insert a rolled-up towel within the garment. This gives you a rounded surface to work on and prevents creases from forming on the other side as you apply the heat.
Be sure to keep the hair dryer moving in a methodical pattern over the fabric, ensuring that every wrinkle receives attention. Patience is key during this process; rushing can lead to uneven results or potential fabric damage.
Continue this process until the entire garment has been treated and the wrinkles have disappeared. The combination of heat and moisture is a powerful one, and when applied correctly, it can leave your clothes looking freshly pressed without ever touching an iron.
Click here for more articles like this one – How to Iron: Easy Guide to Mastering the Art of Ironing
Smoothing: The Finishing Touch
Once you’ve gone over the wrinkled areas with the hair dryer, it’s time to smooth out the fabric. Use your hands to gently press and smooth the fabric against the flat surface. For hanging garments, a gentle shake can help. Be cautious, as the fabric may still be warm. This step helps to ‘set’ the fibers in their new, wrinkle-free position.
Inspection: Ensuring Perfection
After smoothing the fabric, inspect the garment for any lingering wrinkles. If you spot more stubborn creases, simply repeat the misting and drying process. Be patient, as some fabrics may require a few rounds before achieving the desired smoothness.
Cooling: The Final Step
Allow the garment to cool and air dry completely before wearing or storing it. This step is crucial as it ensures the fabric’s new, smooth state is preserved. Once dry, your clothing should be wrinkle-free and ready to make a polished impression.
Conclusion: How to Iron Clothes with a Hair Dryer
By learning how to iron clothes with a hair dryer, you’ve unlocked a quick and efficient way to keep your clothes looking their best, even when traditional ironing tools are out of reach. With this guide, you’re now equipped to tackle wrinkles anytime, anywhere, ensuring you always step out in style.
