If you’ve been searching for “how to iron a duvet cover,” you’re in the right place. This comprehensive guide will walk you through each step, ensuring your duvet cover looks smooth and wrinkle-free.
W.carter, CC0, via Wikimedia Commons
1. Preparation: Setting up Your Ironing Station
Before diving into the actual ironing process, setting up an efficient ironing station is crucial. A good ironing board with a heat-resistant cover is ideal.
Ensure your ironing area is free from clutter to prevent any potential hazards. Regularly clean your iron’s soleplate to avoid transferring any residue onto your duvet cover.
If your iron has a steam feature, distilled water is the best choice to prevent mineral build-up inside the iron. This step of preparation can set the tone for the entire ironing process, ensuring safety and efficiency.
2. Unfolding the Duvet Cover
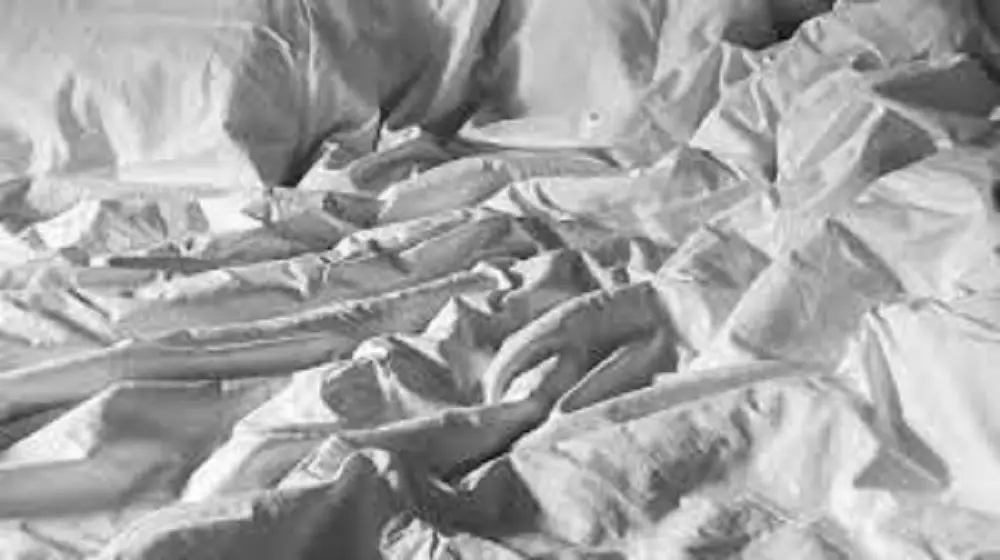
Unfurl your duvet cover and spread it out on your ironing board. Handling such a large piece can be tricky, so start with one section at a time, preferably a corner, and gradually work your way across the cover.
This approach reduces the chances of creating new creases while you iron. Smoothen out any visible large wrinkles with your hand before running the iron over it.
3. Setting the Iron to the Right Temperature
One of the most critical steps in ironing any fabric is setting the right temperature. An overly hot iron can scorch and damage fabrics, while an iron that’s not hot enough might not remove wrinkles effectively.
To avoid any mishaps, always check the care label on your duvet cover.
For instance, cotton fabrics generally require a high setting, while synthetic materials need a lower temperature. It’s always a good idea to test a small, inconspicuous spot first if you’re unsure.
For more articles like this one click here – How to Iron: Easy Guide to Mastering the Art of Ironing
4. Ironing the Duvet Cover
Now that you’ve prepared and set the right temperature, it’s time to iron. Begin by pressing down gently but firmly on the fabric, ensuring you’re moving the iron continuously.
Prolonged contact in one spot can cause damage. The steam function can be especially beneficial for stubborn wrinkles.
As you glide the iron, the steam moistens and relaxes the fibers, making it easier to smooth out. Always ensure you’re working in sections and systematically moving from one part of the cover to the next for uniform results.
5. Handling the Buttons or Zippers
Many duvet covers come with buttons, zippers, or other fasteners. When ironing around these areas, extra caution is required.
Direct contact can damage both the iron and the fastener. The best strategy is to iron around them or place a protective thin cloth over the fasteners before ironing. This way, you ensure the fabric around these areas is smooth without causing any harm.
6. Checking Your Work
After ironing, it’s essential to inspect your work. Hang up the duvet cover and check for any missed wrinkles or uneven areas.
Should you spot any, go back and re-iron those specific parts. Ensuring thoroughness at this stage can save you from the hassle of redoing the entire process later.
7. Storing the Duvet Cover
Proper storage is key to maintaining the smoothness of your freshly ironed duvet cover. It’s recommended to either place it immediately back on your duvet or fold it neatly and store it in a cool, dry place.
This reduces the chance of new wrinkles forming and ensures that your bedding remains fresh and crisp for longer periods.
Additional Tips and Tricks
Ironing a duvet cover is just one step in the overall care of your bedding. Here are some additional tips to ensure that your bedding remains in top condition:
- Dry Properly: After washing, make sure to dry your duvet cover thoroughly. This can help minimize wrinkles. If possible, remove the cover from the dryer while it’s still slightly damp and then iron. The moisture makes it easier to iron out any creases.
- Use Starch: For an extra crisp finish, consider using starch. Spray a light layer over your duvet cover before ironing. This not only gives it a neat appearance but also adds a layer of protection from stains.
- Invest in Quality: Higher quality fabrics tend to wrinkle less. Consider investing in a good quality duvet cover, which might be easier to maintain in the long run.
- Store with Care: If you’re not going to use the duvet cover immediately after ironing, store it in a cool, dry place. Consider using linen or cotton bags instead of plastic ones to allow the fabric to breathe.
Conclusion: How to Iron a Duvet Cover
With the right tools and techniques, ironing a duvet cover becomes a straightforward task. By following this step-by-step guide, you can ensure that your bed always looks neat, inviting, and professionally done.
Whether you’re preparing for guests or just enjoy the feel of crisp bedding, knowing how to iron a duvet cover correctly can enhance the overall aesthetics and comfort of your bedroom.
