“How to iron ironing beads” might sound straightforward, but there’s a technique to mastering it. Whether you’re enjoying a crafting session with your kids or undertaking a meticulous personal project, ironing these tiny beads correctly is pivotal. This guide aims to ensure you not only understand the process but also excel at it.
What You’ll Need:
Before delving into the ironing process, it’s crucial to gather all the essential tools and materials. Preparing in advance will streamline the process, making it more enjoyable and less prone to mistakes.
- Ironing beads: These are small, colorful beads that can be arranged in various patterns and melted together.
- An iron: Preferably one without steam functionality, or ensure the steam option is turned off.
- Pegboard: This is where you’ll place your beads to form your desired design.
- Ironing paper or parchment paper: This acts as a barrier between the iron and the beads, ensuring the beads don’t stick to the iron.
Step-by-Step Guide on How to Iron Ironing Beads:
1. Set Up Your Workspace:
Every craft project benefits from an organized workspace. Start by clearing a flat, heat-resistant surface. This not only gives you ample space to work but also reduces the chances of errors or accidents.
Lay out all your materials in an easily accessible manner, ensuring everything is within arm’s reach.
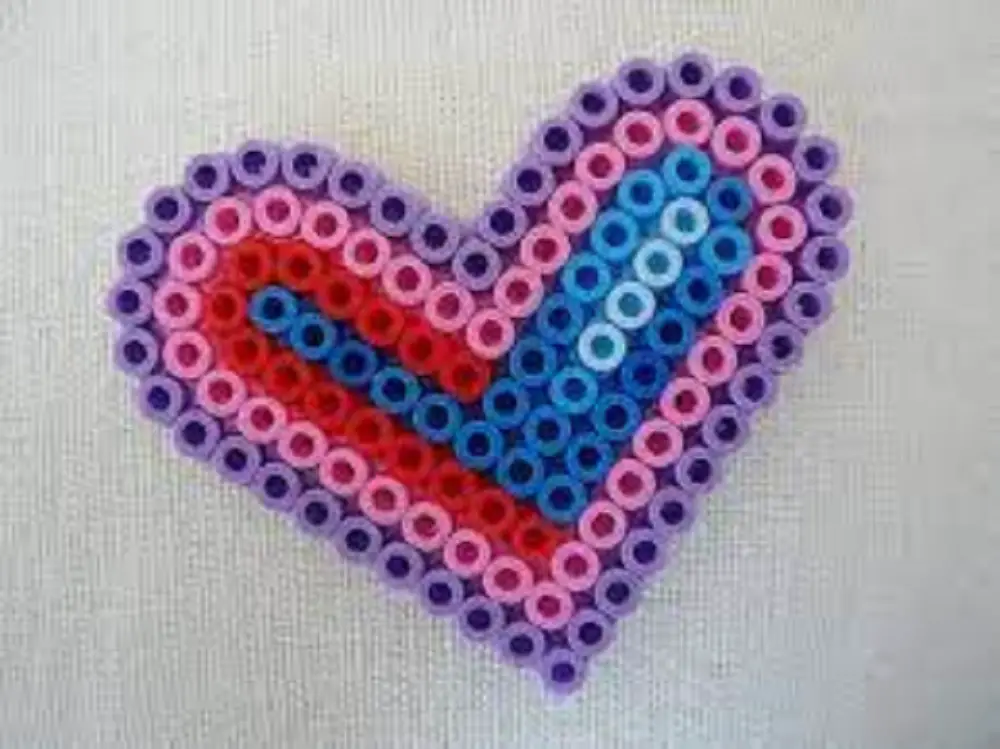
2. Design Your Pattern:
Creativity shines here. Decide on the design you’d like to create. Position the ironing beads on the pegboard, ensuring each bead fits snugly against its peg.
Take your time; this isn’t a race. Every bead contributes to the final masterpiece, so ensure they’re strategically placed without any gaps.
3. Prepare the Iron:
The iron plays a central role in this craft. Plug it in and set it to a medium heat setting. It’s of utmost importance to ensure the steam function is turned off.
Steam can interfere with the melting process, causing beads to warp or not stick together properly.
For more articles like this click here – How to Iron: Easy Guide to Mastering the Art of Ironing
4. Cover the Beads with Ironing Paper:
Before you introduce the iron to the beads, ensure they’re safely covered with a piece of ironing paper or parchment paper.
This essential step protects the beads from direct contact with the iron, preventing any potential sticking or burning.
5. Start Ironing:
With everything in place, gently place the iron atop the paper-covered beads. Move the iron in small, consistent circles, ensuring even pressure across all areas.
Keep a close eye on the beads beneath the paper. You’ll notice they start to fuse together as they melt. Iron until they’ve melted uniformly, ensuring you don’t over-melt them. Then, carefully lift the iron away.
6. Allow to Cool:
Patience is key here. Once you’ve finished ironing, allow your design to cool and set for several minutes.
As they cool, the beads solidify, ensuring your design maintains its form and integrity.
7. Carefully Remove from the Pegboard:
With your design cooled and set, it’s time for the final step. Gently lift your creation off the pegboard. Voila!
You’ve now successfully learned how to iron ironing beads, and your exquisite design stands as a testament to your craftsmanship.
Additional Tips and Tricks:
1. Experiment with Different Designs:
Now that you’re familiar with the basic technique of how to iron ironing beads, don’t hesitate to experiment.
From intricate patterns to basic shapes, the possibilities are endless. You can find various design templates online or even create your own!
2. Ensure Even Heat:
Consistency is key when ironing. Make sure the iron provides even heat across the entire surface. This prevents some beads from melting too quickly while others remain under-melted.
If you notice uneven melting, adjust the iron’s position or consider investing in an iron that distributes heat more uniformly.
3. Double Layering:
For designs that require added strength, consider double layering your beads. This technique involves creating two identical designs, ironing them separately, and then ironing them together.
This provides added rigidity, especially useful for items like coasters or larger creations.
4. Care and Maintenance:
While your ironed designs are durable, they can warp over time if exposed to heat. Keep them away from direct sunlight or heat sources.
Additionally, if you notice any beads coming loose, you can carefully re-iron the section using parchment paper as a barrier.
Conclusion:
Know you know how to iron ironing beads. With this guide in hand, you’re well-equipped to tackle any ironing bead project. Remember, patience and practice are your allies. The world of ironing bead design is vast and varied, offering endless creative possibilities. Embrace it, and happy crafting!
