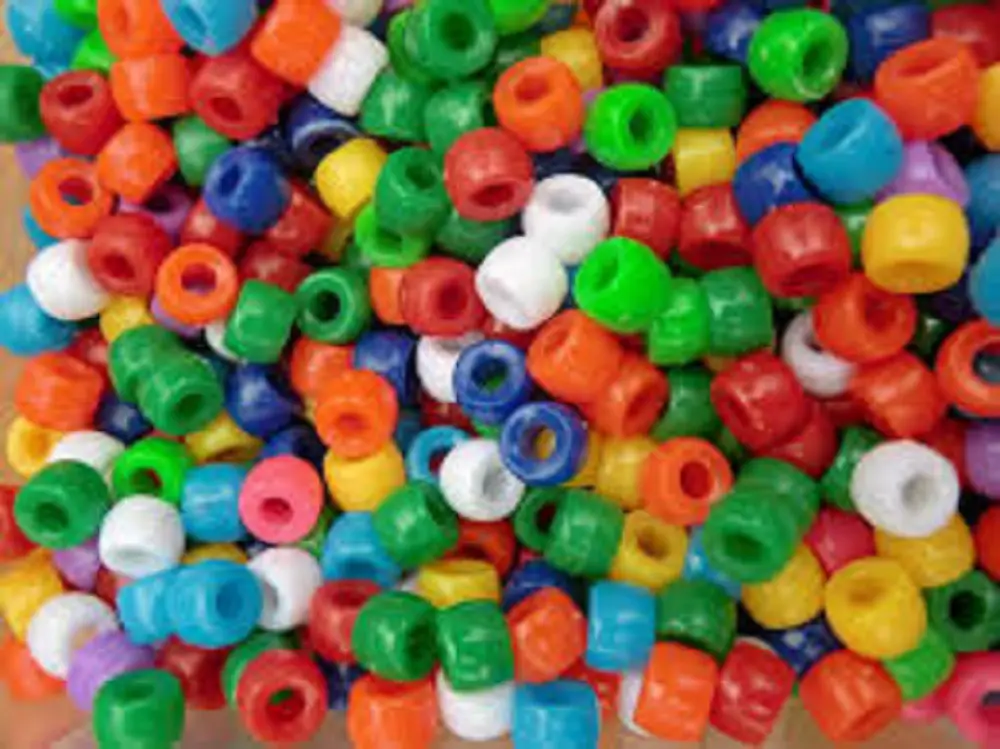
Learning how to iron perler beads without ironing paper is a skill many craft enthusiasts seek. As the popularity of perler bead artistry grows, so does the need for adaptable techniques.
Whether you’ve misplaced your ironing paper or just ran out, you don’t have to halt your creativity. In this guide, you’ll find a clear and practical solution to this common challenge.

Why Would You Want to Iron Without Ironing Paper?
Ironing paper is essentially the unsung hero in the world of perler bead crafting. It not only protects the beads but also ensures an even melt, giving your artwork a professional finish.
However, we’ve all faced that moment of panic when we realize we’re out of this essential supply just when we need it most. Whether you’re in the middle of a project or starting a new one, running out of ironing paper can feel like a major setback.
But fret not! Many seasoned crafters have found themselves in this situation and have devised alternative methods. By using substitutes like baking paper or parchment paper, you can achieve similar results without compromising the quality of your design.
Materials Needed:
The beauty of perler bead crafting is that it doesn’t require a ton of supplies. For this alternative ironing method, you’ll need:
- Perler Beads: These are small, colorful beads that can be arranged on a pegboard to create various designs. They come in a wide range of colors, allowing for immense creativity.
- Pegboard: This is a board with small pegs that hold the beads in place as you design.
- Iron: A regular household iron works perfectly. Ensure it has adjustable heat settings to cater to the delicate nature of the beads.
- Alternative to Ironing Paper: In the absence of ironing paper, baking paper or parchment paper are your best bets. They’re commonly used in baking, which means they can handle heat and won’t stick to the beads.
Steps to Iron Perler Beads Without Ironing Paper:
With your materials in place, it’s time to dive into the ironing process. Let’s walk through it step-by-step:
- Prepare Your Workspace: Always begin by setting up a conducive workspace. A flat, heat-resistant surface is crucial. Consider using a large ceramic tile or a wooden board beneath your pegboard. This not only protects your work surface but also provides a stable base for ironing.
- Select Your Substitute: While parchment paper is the most recommended alternative, baking paper works just as well. Both are designed to withstand heat and have non-stick properties. They’ll prevent the beads from sticking to the iron and provide an even melt, similar to ironing paper.
- Position the Alternative Paper: Carefully lay your chosen substitute over the perler bead design on the pegboard. It’s crucial to ensure that every bead is covered, leaving no room for direct contact with the iron.
- Preheat Your Iron: Plug in your iron and set it to a medium setting. Give it a few minutes to reach the desired temperature. A hotter iron can melt the beads too quickly, while a cooler one may not melt them at all.
- Begin Ironing: With gentle pressure, move the iron in small circles over the parchment or baking paper. It’s essential to maintain a consistent motion, ensuring each bead receives equal heat and melts uniformly.
- Check the Melting Progress: Periodically, lift a corner of the paper to gauge the melting progress. Ideally, the beads should fuse together without losing their individual shapes. If you notice uneven melting or any gaps, adjust your technique or the heat setting of your iron accordingly.
- Let Cool and Harden: After achieving a satisfactory melt, set the iron aside and let your design cool for at least 15-20 minutes. As the beads cool, they will solidify, cementing your artwork.
For more articles like this click here – How to Iron: Easy Guide to Mastering the Art of Ironing
Tips and Tricks for Perfect Results:
While the process of ironing perler beads without the typical ironing paper is straightforward, a few tips can help you achieve even better results:
- Consistent Pressure: When ironing, maintain a uniform pressure. Pressing too hard can cause the beads to over-melt, while too little pressure might leave them under-melted.
- Heat Distribution: Ensure you’re distributing the heat evenly across your design. This will help you achieve a consistent melt, which is crucial for the stability and appearance of your finished piece.
- Watch for Wrinkles: As you use parchment or baking paper, make sure it’s smooth without any wrinkles. Wrinkles can imprint on the melted beads, leaving an uneven texture on your design.
- Double-sided Ironing: For added strength, consider ironing both sides of your design. After the front side has cooled a bit, gently peel it off the pegboard, flip it, cover with your substitute paper, and iron the backside.
Conclusion: How to Iron Perler Beads Without Ironing Paper
Armed with this knowledge, you can now confidently tackle your perler bead projects even when you’re out of ironing paper. Practice and patience are key.
With every project, you’ll refine your technique and gain more confidence. Remember, every artist has their unique approach, so don’t be afraid to experiment and find what works best for you. Happy crafting!