If you’re a novice looking to master the art of ironing, understanding how to use an ironing board is crucial. This guide is designed to walk you through the entire process to learn how to use an ironing board step by step, from setting up your ironing board to the final touches.
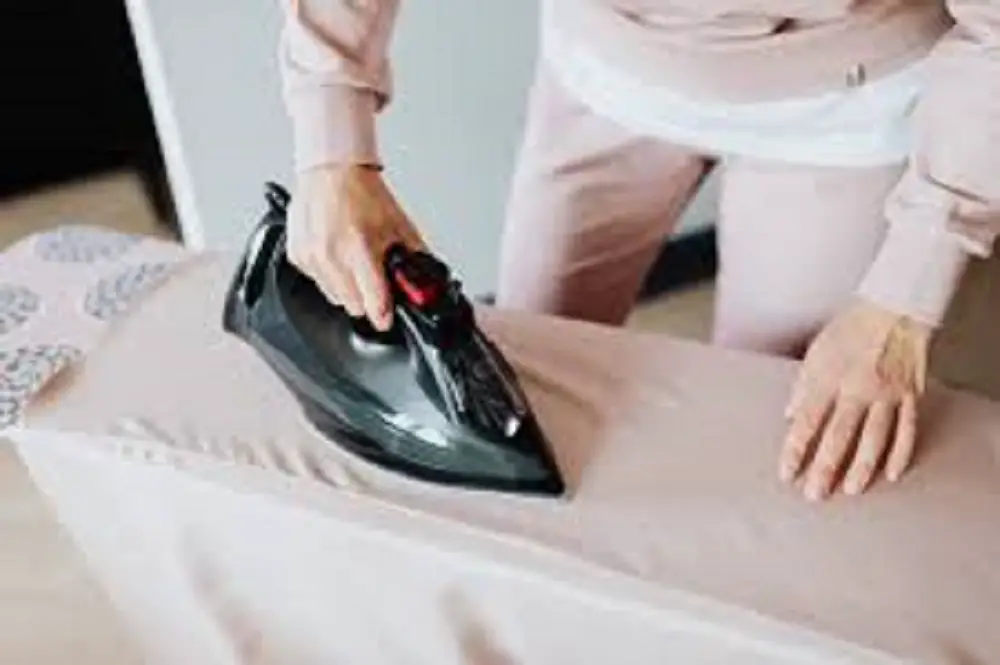
Photo from Pexels
Setting Up Your Ironing Board
Before you even plug in your iron, it’s important to properly set up your ironing board. A poorly set-up board can cause discomfort and even result in poorly ironed clothes. Here’s what you need to do:
- Choose a Suitable Location: Find a space where you can set up the ironing board that’s free of clutter. Ensure there is an electrical outlet nearby for your iron.
- Unfold the Ironing Board: Unlock the latch and open the legs of the ironing board. Make sure they lock into place securely to avoid any accidents.
- Adjust the Height: Most ironing boards have a lever or knob that allows you to adjust the height. Make sure it’s at a level where you can iron comfortably without straining your back.
- Check the Cover: Ensure that the cover on the ironing board is smooth and free from wrinkles or damages. A damaged cover can affect the quality of your ironing.
Selecting the Right Iron
Selecting the right iron can significantly affect the outcome of your ironing. Here’s what you should consider:
- Check Wattage: Generally, irons with higher wattage heat up faster and offer better performance. This is especially useful for thicker fabrics.
- Steam Functions: Irons with steam functions are excellent for removing stubborn wrinkles. Make sure the iron has options for adjusting steam levels.
- Safety Features: Safety should never be compromised. Look for irons that come with safety features like auto-shutoff, which turns off the iron if it’s left unattended for a certain period.
Preparing the Clothes
Before you get started with the actual ironing, it’s essential to prepare your clothes to ensure that you don’t damage them. Here’s how:
- Sort Clothes: Sort your clothes by fabric type and color. This helps in setting the iron temperature appropriately for each type of fabric.
- Check Labels: Always read the care labels on your clothes for specific ironing instructions. The label will tell you the maximum temperature the fabric can withstand.
- Test for Colorfastness: Before you iron colored clothes, it’s advisable to test a small, hidden area for colorfastness to prevent damaging the entire garment.
Click here for more articles like this one – How to Iron: Easy Guide to Mastering the Art of Ironing
Ironing Techniques
Now that you’ve prepared everything, it’s time to start ironing. The proper technique will help you get the best results:
- Start with Flat Surfaces: Always begin by ironing large, flat areas like the back of shirts or the front of skirts. This will give you more control as you move to more complex areas.
- Use Steam Wisely: Utilize your iron’s steam function for those stubborn wrinkles. However, be cautious not to overuse it as excessive moisture can cause water stains.
- Check for Creases: Be vigilant for any unwanted creases. If you spot one, lift the iron and smooth out the fabric before continuing.
Storage and Maintenance
After you’re done ironing, storing your equipment properly can prolong its life and ensure it’s ready for next time. Here’s how to do it:
- Cool Down: Unplug the iron and let it cool down completely before storing it.
- Fold the Board: Close and lock the ironing board legs. Make sure it is properly latched before storing it.
- Store Safely: Choose a dry and safe location for storing both the iron and the ironing board. Ensure they are not exposed to moisture to prevent rusting.
Additional Tips for Effective Ironing
While the steps outlined above cover the essential aspects of using an ironing board and iron, here are some additional tips to get you to pro status:
- Iron Damp: For cotton and linens, it’s often easier to iron the fabric while it’s still slightly damp. This makes it easier to remove wrinkles.
- Use Distilled Water: If your iron has a steam function, always use distilled water to prevent mineral build-up inside the iron.
- Use an Ironing Cloth: For delicate fabrics like silk or items with prints, use an ironing cloth between the iron and the fabric to prevent damage or discoloration.
- Sequence Matters: If you’re ironing a complete outfit, start with the garment that requires the lowest temperature setting and work your way up. This avoids the need to frequently change the iron’s temperature.
Common Mistakes to Avoid
As you learn how to use an ironing board step by step, it’s good to be aware of common mistakes that people often make:
- Rushing Through: Ironing is not a task you can rush through. Hurried ironing often results in missed spots or even burnt fabric.
- Ignoring Fabric Care Labels: The care labels on your garments are there for a reason. Ignoring them can result in ruined clothes.
- Improper Storage: Storing your iron or ironing board in damp or unsuitable conditions can lead to rusting and damage. Always store them in a dry place.
Conclusion: How to Use an Ironing Board Step by Step
Mastering the art of ironing takes a bit of practice, but with this guide on how to use an ironing board step by step, you’re well on your way to becoming proficient.
Remember, the key to flawless ironing lies not just in the technique but also in the preparation and the tools you use. Happy ironing!