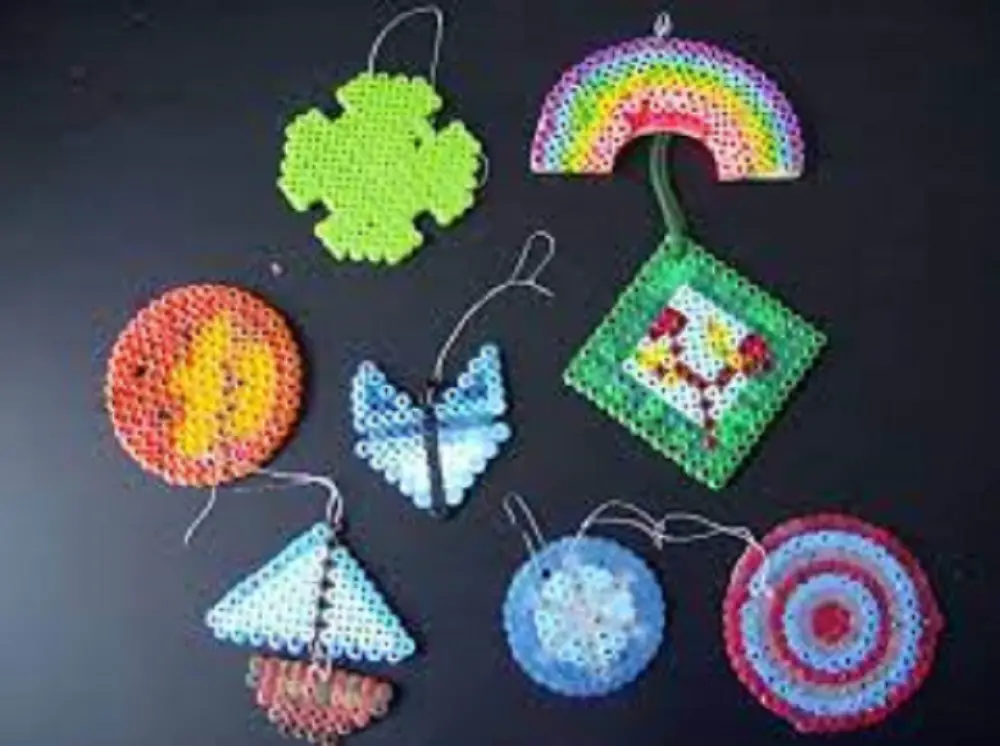
If you’re new to the world of crafting and are eager to understand how to use ironing beads, this guide is designed for you. Through easy-to-follow steps, we’ll delve into the entire process, right from setting up your workspace to creating your first masterpiece with ironing beads.

Sally M, CC BY-SA 2.0 https://creativecommons.org/licenses/by-sa/2.0, via Wikimedia Commons
Materials Needed
The first step in using ironing beads is gathering all the materials you’ll need. Here’s a detailed list:
- Ironing beads: These small, circular beads are the primary material. They come in various colors and are available at craft stores or online.
- Pegboard: This is a plastic board with evenly spaced holes where you will place your beads to form a design.
- Parchment paper: This will act as a protective layer between the iron and the beads, ensuring the beads don’t stick to your iron.
- An iron: A regular household iron will do. You won’t need steam, so even a basic model is sufficient.
- Tweezers (optional): While not mandatory, tweezers can be incredibly helpful for placing beads, particularly for complex designs.
Once you have gathered all your materials, you can move to the next step.
Step 1: Setup Your Workspace
Setting up a good workspace is crucial for your crafting success. Pick a flat, heat-resistant surface like a wooden table or a countertop.
Place your pegboard on this surface. Ensure that the iron is within arm’s reach but not in a position where it can be accidentally knocked over, especially if children are around.
Also, make sure to plug in the iron near the workspace but don’t turn it on just yet. Having everything close by will streamline the crafting process.
Step 2: Choose Your Design
Deciding on a design is a creative and fun part of learning how to use ironing beads. If you’re a beginner, start with a simple design like a heart or a star.
More advanced designs like animals or letters can be attempted as you get more comfortable. You can find various design templates online or even purchase books dedicated to ironing bead designs.
Place your chosen design next to your workspace for easy reference. This will act as your blueprint as you start placing the beads.
For more articles like this one click here – How to Iron: Easy Guide to Mastering the Art of Ironing
Step 3: Place the Ironing Beads
With your workspace set and your design chosen, it’s time to start placing your ironing beads onto the pegboard. Open your bead containers and segregate them by color for easier access.
Start from one corner of your design and work your way across, placing each bead onto its corresponding peg on the pegboard.
If your design involves multiple colors, it’s often easier to complete one color first before moving to the next. If you find it challenging to place the beads by hand, this is where tweezers can come in handy.
Step 4: Iron Your Design
Once all the beads are in place, it’s time to iron your design. Turn your iron to a medium setting and allow it to preheat for a few minutes.
Place a sheet of parchment paper over your design on the pegboard. This will prevent the beads from sticking to the iron.
Gently move the iron over the parchment paper in a small circular motion. Do this for about 10-20 seconds. Make sure you cover all areas so that the beads adequately melt and fuse together.
Step 5: Cooling and Removal
After you’ve ironed your design, it’s essential to let it cool down before touching it. Turn off the iron and set it aside safely. Let the design sit for at least five minutes.
This cooling time is crucial as it allows the melted beads to solidify, ensuring your design is sturdy. After cooling, gently lift it off the pegboard using your hands or a flat tool like a spatula.
Now you have successfully learned how to use ironing beads, and you have your very own creation as proof!
Additional Tips
Now that you’ve successfully completed your first project, here are some additional tips that can elevate your skills in using ironing beads:
- Quality Matters: Always opt for high-quality ironing beads. Cheaper brands may not melt uniformly, causing your design to break or look uneven.
- Experiment: Don’t hesitate to experiment with colors and shapes. Your creativity is the only limit when it comes to what you can achieve with ironing beads.
- Storage: It’s advisable to keep your beads sorted by color in separate containers. This saves you time when you embark on more complex projects.
- Ironing Pressure: Apply consistent pressure when ironing. Uneven pressure can cause some beads to melt more than others.
- Double-Sided Designs: For a more finished look, you can iron both sides of your design. Just be sure to let the first side cool before flipping it over to iron the second side.
Conclusion: How to Use Ironing Beads
Mastering the art of how to use ironing beads may take some time, but with this comprehensive guide, you are well on your way to becoming proficient.
Start with simple designs and gradually work your way up to more complex projects. Remember, practice makes perfect, and there’s a whole world of beautiful designs waiting to be created by you. Happy crafting!