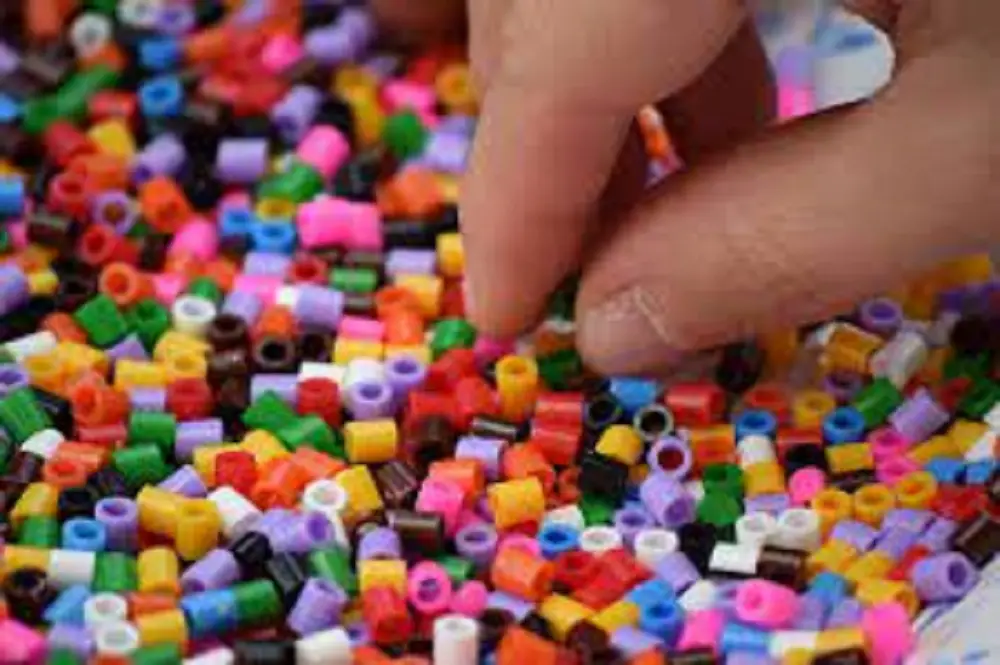
Discovering how to iron beads together opens up a world of creativity for enthusiasts and hobbyists alike. From vibrant patterns to intricate designs, bead art is a delightful way to express oneself. This detailed guide ensures that each step of the process is clear, even if you’re a beginner.

Materials Needed
For a seamless experience, gathering the right materials is crucial. Here’s what you’ll need:
- Colorful beads: These are often referred to as perler or fuse beads. They come in a wide variety of shades, enabling you to craft detailed and vibrant designs.
- Pegboard: This is a perforated surface where you’ll place your beads. They’re available in various sizes, depending on the size of your project.
- Parchment or ironing paper: An essential barrier that prevents the beads from adhering to the iron.
- Regular iron: Any household iron will do, but ensure it’s clean and free from any residue that might transfer onto your project.
- Flat working surface: A stable table or counter works best to keep your design safe and steady during the ironing process.
Step 1: Design Your Pattern
The first and arguably most enjoyable step is letting your creativity run wild. Begin by thinking about what pattern or image you’d like to create.
Some individuals prefer to sketch their ideas out on paper beforehand. Once you have a vision, start placing your beads on the pegboard.
Remember, the beads should sit snugly next to each other for a consistent and strong finish. Don’t rush this step; the more time you invest in getting your design just right, the happier you’ll be with the final product.
Step 2: Preheat the Iron
While it might be tempting to get straight to the ironing, preheating is vital. Plug your iron in and set it to a medium heat setting.
Ensure that if your iron has a steam function, it’s turned off. Give your iron a few minutes to warm up. A properly heated iron ensures the beads melt evenly and fuse together optimally.
Step 3: Cover Your Design with Parchment Paper
Once you’re satisfied with your bead arrangement, it’s time to prepare for the ironing phase. Lay a sheet of parchment or ironing paper over your design.
Ensure the paper covers every bead. This protective layer ensures that the beads don’t stick to the iron, preserving both your design and your appliance.
Click here for more articles like this – How to Iron: Easy Guide to Mastering the Art of Ironing
Step 4: Iron the Beads
With your iron preheated and your design covered, you’re ready to start fusing the beads. Apply gentle pressure with the iron and move in small, consistent circles over the design.
The beads will start to melt under the heat, fusing together. It’s essential to keep the iron moving to avoid overheating one area. Periodically lift the parchment paper to check the progress. The beads should appear slightly melted and interconnected.
Step 5: Let It Cool
Once you’ve thoroughly ironed your design, it’s crucial to allow it to cool down. The cooling process solidifies the melted beads, ensuring your design stays together. After a few minutes, once the design feels cool to the touch, you can gently peel it away from the pegboard.
Tips for Success
As you dive deeper into the world of bead artistry, a few additional tips can elevate your craft and ensure your projects look professional:
- Consistent Heat: Ensure that your iron provides an even heat across its surface. If you notice certain areas of your design are not fusing as quickly as others, it might be due to inconsistent heat. You may need to spend extra time on those areas or consider investing in a high-quality iron.
- Practice on Smaller Designs: If you’re new to learning how to iron beads together, consider starting with smaller designs. This allows you to get a feel for the process without the risk of ruining a large project.
- Double-sided Ironing: For added durability, especially with larger designs, you can opt to iron both sides of your bead artwork. After the initial side is ironed and cooled, gently flip the design and repeat the process on the other side.
- Use Tweezers: When placing beads, especially intricate designs, using tweezers can provide more precision.
Caring for Your Bead Art
After you’ve mastered how to iron beads together, it’s essential to care for your creations properly. Here are some tips to ensure they last:
- Store Flat: Storing your bead art flat will prevent it from warping or bending over time.
- Avoid Direct Sunlight: Prolonged exposure to direct sunlight can cause the colors in your bead art to fade. Always store or display them in a shaded area.
- Clean Gently: If your bead art collects dust or dirt, gently wipe it with a damp cloth and allow it to air dry completely.
How to Iron Beads Together: Conclusion
Mastering how to iron beads together is a gratifying skill, opening doors to countless crafting possibilities. With patience and practice, you’ll soon be creating intricate and beautiful designs that showcase your unique flair.