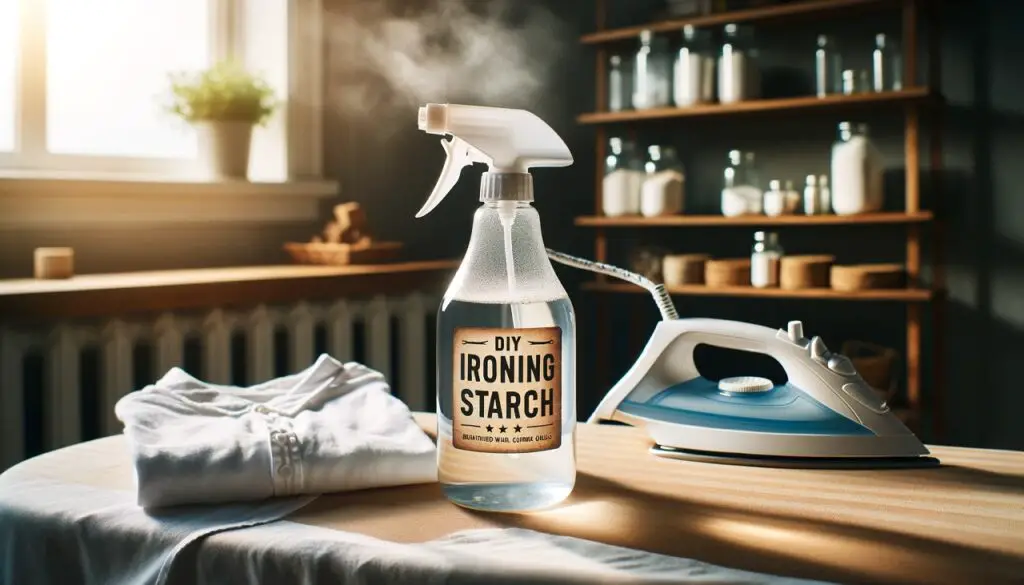
If you’re looking to add that professional touch to your garments, learning how to make homemade ironing starch is a fantastic solution. This guide will walk you through each step of the process, ensuring that you can achieve perfectly crisp clothes without the need for commercial products. Homemade ironing starch is not only cost-effective but also a healthier option for those with sensitive skin or allergies to store-bought products.
Environmental Benefits and Personalization
Embracing the DIY approach of making your own ironing starch contributes significantly to environmental conservation. Commercial aerosol sprays are often packed with chemicals and housed in containers that can be detrimental to the environment, both in terms of the production process and waste disposal.
By opting to make your own starch, you sidestep these issues, reducing your carbon footprint and minimizing your contribution to landfill waste. Moreover, you avoid the potential health risks associated with inhaling aerosol propellants.
Homemade starch also presents a unique opportunity for personalization. You’re not limited to the generic scents of store-bought starches; you can customize the aroma of your ironing starch to suit your personal preference or to induce different moods. Lavender oil, for instance, is known for its calming properties, while citrus oils offer a refreshing energy boost. Adding these natural scents not only personalizes your ironing routine but also transforms it into an aromatic experience.
Beyond scents, you can also control the strength of your starch. Depending on the fabric you’re ironing, you may want a stiffer finish for items like collared shirts and a softer one for delicate blouses. This customization is simply not available with pre-made products.
Furthermore, if you have sensitive skin, you can ensure your homemade starch is free from irritants often found in commercial brands.
Lastly, by reusing the same spray bottle for your starch, you’re contributing to a decrease in plastic waste. This small act, when multiplied across many individuals, can lead to a significant reduction in the number of plastic containers that need to be produced and recycled.
In essence, the act of making your own ironing starch isn’t just a domestic skill, but a stand against unnecessary waste and a step towards a more sustainable and thoughtful way of living.
Gathering Your Ingredients and Tools
Before we start the process of how to make homemade ironing starch, you’ll need to gather a few simple ingredients and tools. You will need one tablespoon of cornstarch, which acts as the stiffening agent. Two cups of water are necessary to dissolve the cornstarch and create your starch solution.
A clean spray bottle will be used to apply the starch, and a cooking pot is required to heat and mix your ingredients. It’s essential to use a clean bottle to prevent any residue from previous contents from mixing with your starch.
Mixing Your Ingredients
The first step in how to make homemade ironing starch is to mix your cornstarch with water. Begin by adding the cornstarch to the cooking pot.
Gradually pour in the water, stirring steadily to combine the two. It’s crucial to ensure the cornstarch is completely dissolved to avoid any lumps. A smooth solution is key to preventing clogs in your spray bottle’s nozzle.
Cooking the Starch Mixture
Place the pot on your stove over medium heat. Continue to stir as the mixture heats up. You will notice it starts to thicken after a few minutes; this is a sign that the starch is beginning to activate. Once the mixture reaches a consistency similar to a thin gravy, remove the pot from the heat. Allow the mixture to cool completely before moving to the next step.
Preparing the Starch for Use
Once your mixture has cooled, you’ll need to transfer it to your spray bottle. Using a funnel can help prevent spills and ensure all your starch gets into the bottle. If you’ve made a larger batch, you can store the excess in a container in the refrigerator for future ironing sessions.
Ironing with Your Homemade Starch
Now that you have your homemade ironing starch prepared, it’s time to use it. Shake the bottle well before each use to ensure the starch is evenly distributed.
Hold the spray bottle about six inches from the fabric and spritz lightly. You’re aiming for a fine mist, not soaking the material. After spraying, iron the garment as you normally would. You’ll find that the starch not only helps to remove wrinkles but also leaves a crisp finish.
For more information concerning this topic click here
Addressing Common Issues
When you embark on the journey of using homemade ironing starch, it’s not uncommon to face a few hiccups along the way. Streaks on fabric or a clogged spray nozzle can be frustrating, but these issues are easily remediable with a few simple tweaks.
If you notice streaks appearing on your clothes after ironing, it’s likely due to excess starch or undissolved particles in the mixture. To combat this, ensure that the cornstarch is completely dissolved during the initial cooking process.
Stir continuously and use warm water to aid dissolution. If the problem persists, pass the cooled mixture through a fine-mesh sieve or cheesecloth. This extra step acts as a filtration process, catching any remaining particles that could cause streaking.
For those facing a clogged spray bottle, it’s typically a sign that the starch mixture is too thick or that particles have settled in the nozzle.
First, try diluting the mixture with a bit more water. If clogging continues, disassemble the spray bottle and soak the nozzle in warm water. Use a small brush or a pin to clear any blockage within the spray mechanism. It’s beneficial to do this regularly to maintain a fine, even mist.
Finding the perfect starch ratio is a personal preference and might require some experimentation. Start with the recipe provided and adjust the cornstarch amount incrementally.
If the fabric feels too stiff, reduce the cornstarch slightly. Conversely, if you’re not achieving the desired level of crispness, add a bit more. Remember to dissolve any additional starch thoroughly before adding it to your existing batch.
Another tip is to iron fabrics when they are slightly damp. This not only helps the iron glide smoothly but also allows the starch to penetrate the fabric more evenly, reducing the likelihood of streaks. Ensure your iron’s temperature setting aligns with the fabric type, as an iron that’s too hot can also cause the starch to stick and leave marks.
Lastly, regular maintenance of your iron is crucial. Residue from starch can accumulate on the iron’s plate over time, which can transfer to your clothes. Clean the soleplate of your iron according to the manufacturer’s instructions to keep it in optimal condition and prevent any starch build-up from causing issues.
For more articles like this one click here – How to Iron: Easy Guide to Mastering the Art of Ironing
Storing Your Homemade Ironing Starch
Ensuring that your homemade ironing starch remains effective over time requires proper storage techniques. If you’ve made more starch than you need for a single ironing session, it’s important to keep the excess in the refrigerator.
Chilling the starch helps to prevent spoilage, especially since the mixture is free from the preservatives found in commercial products. It’s recommended to use a clean, airtight container for storage to prevent any fridge odors from being absorbed and to avoid any bacterial growth.
When selecting a container, glass is preferable over plastic. Glass is non-reactive and doesn’t degrade over time, which means it won’t impart any undesirable chemicals into the starch. Moreover, glass is easier to sterilize and can be heated if necessary, making it a safer and more sustainable option for long-term use.
Before you store the starch, label the container with the date of creation. Homemade ironing starch typically has a shelf life of one to two weeks when refrigerated. Always check for any signs of fermentation or mold before use, as these are indicators that the starch should be discarded. Safety first: if in doubt, throw it out.
When you’re ready to use your chilled starch again, take it out of the refrigerator and allow it to sit until it reaches room temperature.
This helps to ensure that the starch will spray evenly and not cool down the iron’s surface. Give the container a thorough shake or stir to reintegrate any components that may have separated or settled at the bottom. This is especially important as natural starch can tend to settle or layer when not in use.
For those who iron frequently and prefer not to refrigerate, you can also explore natural preservatives that might extend the shelf life at room temperature.
However, always research and ensure the safety of any additive you choose to include. And remember, the fresher the batch, the better the performance, so consider making smaller amounts more frequently if your ironing needs are less demanding.
Conclusion: How to Make Homemade Ironing Starch
Mastering the art of making homemade ironing starch not only ensures your clothes are crisply pressed but also reflects a choice to embrace a more sustainable and self-sufficient lifestyle. Through this guide, you’ve learned a straightforward and effective method to create a natural starch solution that rivals commercial products.
Whether you’re ironing a shirt for a professional engagement or sprucing up linens for your home, your homemade starch will deliver excellent results. Embrace this eco-friendly solution and enjoy the crisp finish and pleasant scent it brings to your freshly ironed garments.