If you’ve just searched “how to put ironing board down”, you’re not alone. This detailed guide will make this task easier for you, walking you through each step so that you can safely and effortlessly put down your ironing board.
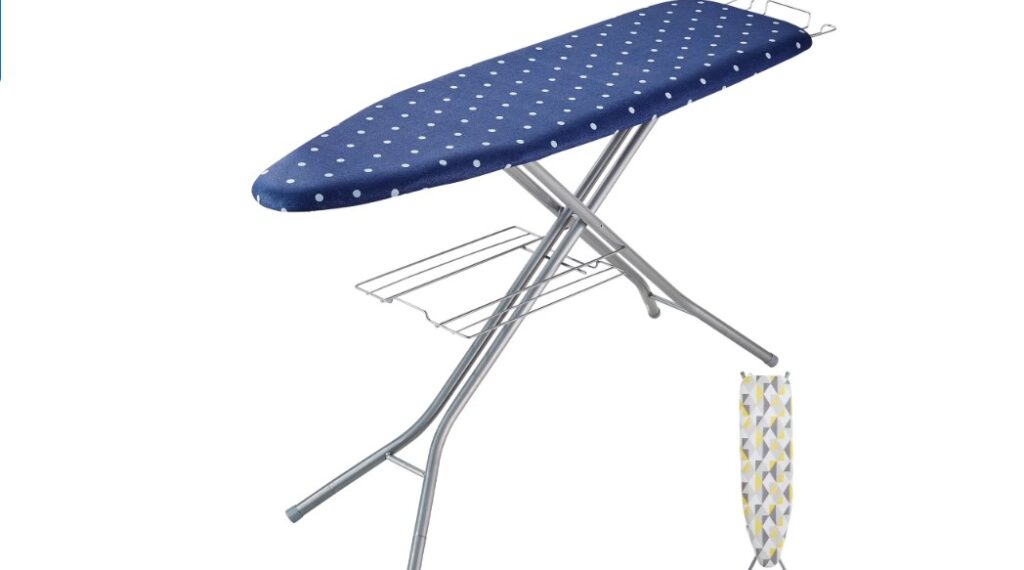
You can get this ironing board by clicking here
Types of Ironing Boards
The first thing you need to know about how to put an ironing board down is that not all ironing boards are the same. There are several types, including:
- Tabletop Boards: These are compact boards designed for quick ironing tasks. They often have simple mechanisms for setup and takedown.
- Portable Boards: These are full-sized boards that can be easily moved and stored. They are the most common type and the focus of this guide.
- Wall-Mounted Boards: These are fixed to the wall and can be folded up or down. The mechanisms for these are more complex.
Understanding your type of board is the first step in figuring out how to put it down safely and effectively.
Preparation Steps
Preparation is key when putting an ironing board down. First, clear the board of any objects. Remove irons, clothes, or any spray bottles you may have used.
Next, make sure the area around the board is clear. You don’t want to knock anything over or, worse, trip while trying to manage the board.
For more articles like this one click here – How to Iron: Easy Guide to Mastering the Art of Ironing
Putting Down a Tabletop Ironing Board
Tabletop ironing boards are known for their convenience and simplicity. They are ideal for small spaces and quick ironing tasks. Here’s how to put down a tabletop ironing board step-by-step:
- Clear the Board: Remove any items from the ironing board such as the iron, clothing, or spray bottles to ensure it’s clear before you start the process.
- Check the Space: Ensure there is enough room around the tabletop ironing board to comfortably maneuver it without knocking anything over.
- Identify the Lock Mechanism: Tabletop boards often have a straightforward lock mechanism, usually a hook or a latch underneath the board or at the end where the legs meet.
- Release the Lock: Carefully unhook or unlatch the locking mechanism. This will usually be a simple movement but make sure you read any labels or instructions if it’s not immediately clear how to do it.
- Fold the Legs: While holding the board securely, gently fold in the legs one at a time. Some tabletop boards have legs that fold together simultaneously. Either way, fold them in carefully to avoid pinching your fingers.
- Secure the Lock: Once the legs are folded, re-engage the locking mechanism to keep the legs securely in place during storage.
- Place in Storage: Finally, with the legs folded and lock secured, your tabletop ironing board is now ready to be stored away safely until next use.
Putting Down a Portable Ironing Board
Portable ironing boards are the most commonly used and offer the advantage of being easy to move and store. If you own a portable ironing board, follow these steps to put it down safely and efficiently:
- Clear the Area: First, ensure the ironing board is free of any items like clothes, irons, or water sprayers. Additionally, make sure you have enough space around the board to lower it safely.
- Identify the Lever: Find the lever or button that controls the height adjustment. This is usually located either under the ironing surface or along one of the board’s legs.
- Support the Board: With one hand, grip the ironing board to support it. Use your other hand to press the lever or button that controls the height.
- Lower the Board: While pressing the lever or button, gently begin to lower the ironing board. Do this slowly to avoid any sudden movements that could result in injury.
- Lock Into Place: Once the board has reached the lowest height setting or is completely down, release the lever or button. Listen for a click or another indication that the board has locked into place.
- Check Stability: After lowering, give the board a gentle push to ensure it is stable and securely locked. If it wobbles or feels insecure, you may need to repeat the process to ensure it is properly locked.
- Store Safely: Now that the board is down and stable, it is ready to be stored. Always store your ironing board in a location where it won’t present a tripping hazard or fall over.
Putting Down a Wall-Mounted Ironing Board
Wall-mounted ironing boards offer space-saving convenience but come with a more complex set of mechanisms. If you have a wall-mounted board, here’s a step-by-step guide on how to put it down safely:
- Clear the Area: Before starting, ensure that the ironing board is clear of any items such as irons or clothing. Make sure there’s enough clearance in front of and below the board to lower it.
- Read Manufacturer’s Instructions: Since wall-mounted units can be complex, consult the user manual or any attached labels for specific instructions about lowering your particular model.
- Locate the Release Mechanism: Identify the release mechanism or latch that will allow you to lower the board. This could be a handle, button, or even a key, depending on the model.
- Unlock the Mechanism: Carefully unlock the release mechanism according to the manufacturer’s instructions. You may need to apply slight pressure, turn a key, or press a button.
- Support the Board: With one hand, support the ironing board as you release the lock with the other. This will prevent it from falling too rapidly.
- Lower the Board: Gently guide the ironing board downward into its resting position. Some models have hydraulic or pneumatic systems that will assist in a controlled descent.
- Secure in Place: Once lowered, engage any locks or clips to make sure the board stays in place while folded down. This will prevent any accidental unfolding.
- Double-Check: Finally, give the board a gentle tug to confirm that it’s securely locked in the down position. Now, it’s ready for storage or for moving into its nested position within a cabinet or similar enclosure.
Troubleshooting Common Issues
While the process of putting down an ironing board is usually straightforward, you might encounter some issues. Here are quick fixes for common problems:
- Stuck Lever: If the lever or button isn’t budging, try applying a lubricant like WD-40 to the area. Wait a few minutes before attempting again.
- Wobbly Board: If the board is wobbly after you’ve put it down, it may not be properly locked. Lift the board slightly and try lowering it again, listening for the click that signifies it’s locked into place.
Conclusion: How to Put Ironing Board Down
You’ve made it to the end, and you should now have a solid understanding of how to put an ironing board down.
This guide has aimed to provide you with step-by-step instructions to make this task as straightforward as possible. Remember, safety first: always ensure that the board is securely locked and stable before leaving it unattended.
