If you’ve recently purchased an iron and ironing board, or if you’re trying to improve your ironing technique, understanding how to iron on an ironing board effectively is crucial. This detailed guide will walk you through the process step-by-step, ensuring you achieve that professionally ironed look every time you tackle your laundry pile.
Michael Slaten, CC BY-SA 4.0 https://creativecommons.org/licenses/by-sa/4.0, via Wikimedia Commons
Steps to Iron on an Ironing Board:
Here are the detailed steps to iron on an ironing board
1. Prepare Your Ironing Board and Iron
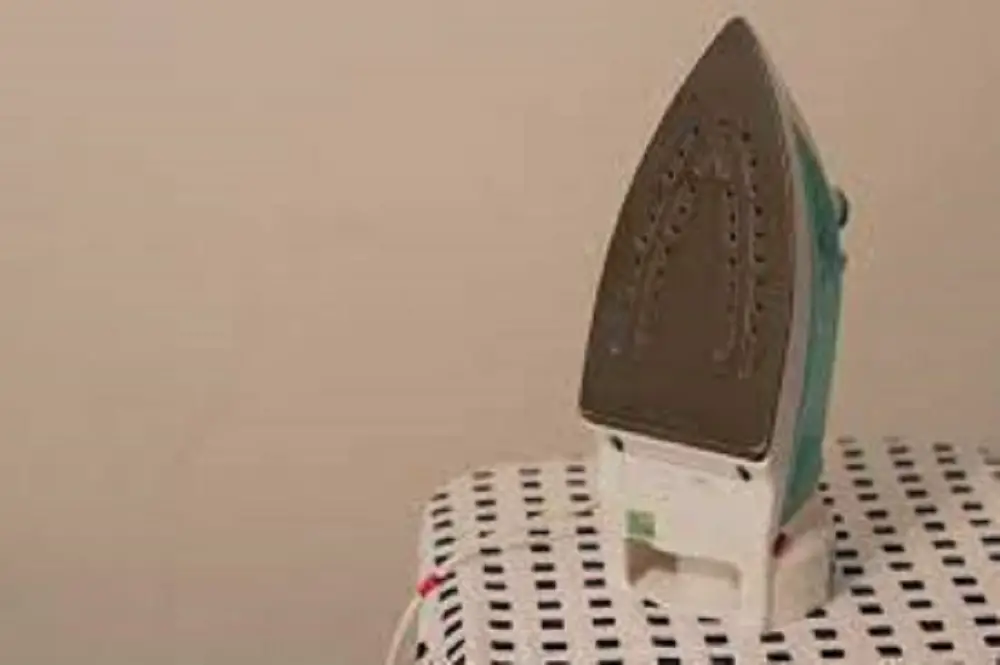
Setting up your workspace properly is the first step in achieving wrinkle-free garments. Start by placing your ironing board on a flat, stable surface away from foot traffic.
Ensure the ironing board is clean and free from any dust or debris. Adjust the board’s height to a level where you can comfortably iron without hunching over or straining your back.
Next, plug in your iron. Most modern irons have various fabric settings, so choose the one that matches the garment you’re ironing. It’s wise to wait for a few minutes, allowing the iron to fully heat before starting.
2. Choose the Right Iron Setting
The secret to perfect ironing lies in understanding your garment’s fabric. Examine the care label on your garment.
Cotton and linen usually require a high-temperature setting, while silks and synthetics need a cooler one. If your iron doesn’t have specific fabric settings, start at a lower temperature and increase it incrementally if needed.
Remember, it’s easier to increase the heat than to fix a garment that’s been scorched by an overly hot iron.
3. Preparing Your Garment
Laying out your garment correctly is half the battle. Place it flat on the ironing board. For shirts, start with the collar, then move to the cuffs and the front and back panels.
Trousers should be laid out one leg at a time. Always smooth out the garment with your hand first to get rid of any major creases.
Also, be mindful of buttons, zippers, and other embellishments. If the item has buttons, unbutton them to get a flat surface. This makes it easier to maneuver the iron around them without causing any damage.
4. Begin Ironing
Now, for the main event. Begin at the top of your garment, slowly working your way down. The tip of the iron is perfect for small areas like between buttons, collars, or pleats.
Always move the iron in long, consistent strokes, never leaving it in one place for too long.
If you come across a particularly stubborn wrinkle, apply a slight increase in pressure, but always keep the iron moving. This ensures even distribution of heat and prevents burning or marking the fabric.
For more articles like this one click here – How to Iron: Easy Guide to Mastering the Art of Ironing
5. Ironing with Steam
Many modern irons come with a steam function, which is invaluable for getting rid of stubborn creases. If your iron has this function, it can be a game-changer.
However, always ensure that the fabric you’re ironing can handle moisture. To use steam, simply press the steam button (or trigger) as you move the iron over the wrinkle. The burst of steam will help relax the fibers, making them easier to smooth out.
6. Hang or Fold Immediately
Your freshly ironed garment is like a masterpiece, treat it with care. Once you’ve finished ironing, either hang it up or fold it immediately.
This helps to retain its freshly pressed appearance. If hanging, use appropriate hangers that support the garment’s shape. If folding, ensure your folds are neat to prevent any new creases from forming.
Additional Tips for Effective Ironing:
Here are some additional tips for effective ironing …
Use Distilled Water
If your iron has a steam function, it’s always recommended to use distilled or de-mineralized water.
Tap water contains minerals that can build up inside your iron over time, leading to clogs or mineral deposits on your clothes. Distilled water ensures a cleaner steam and prolongs the life of your iron.
Iron Dark Clothes Inside Out
Dark-colored garments, especially black or navy ones, can sometimes show shiny marks after ironing. To prevent this, it’s a good practice to turn them inside out and then iron.
This way, any shiny marks that may occur will be on the inside, hidden from view.
Test on a Hidden Area
If you’re unsure about the heat setting or if the garment can be ironed, always test a small, hidden area first. This could be an inner seam or hem.
If it irons well without any adverse effects, you can proceed with the rest of the garment.
Clean Your Iron Regularly
Over time, the soleplate of your iron can accumulate dirt, grime, or even burnt fabric. It’s essential to clean it regularly to ensure smooth gliding and prevent any dirt transfer onto your clothes.
Most manufacturers provide specific instructions for cleaning, but a common method is to use a mixture of distilled water and white vinegar or a commercial iron cleaner.
Conclusion: How to Iron on an Ironing Board
Ironing doesn’t have to be a daunting task. By understanding how to iron on an ironing board properly and following the steps outlined above, you’ll find that it becomes a straightforward and even rewarding chore.
With practice and patience, you’ll soon be ironing like a pro, giving your garments the care and attention they deserve.