When it comes to household chores, ironing may not be everyone’s favorite, but it’s a necessity for maintaining a polished appearance. Knowing how to set up ironing board correctly can make the task more manageable. In this comprehensive guide, you will find step-by-step instructions that cover everything you need to know for a smooth ironing experience.
Step 1: Choose the Right Location
Selecting the perfect spot for your ironing board is crucial for a couple of reasons. First, you want to make sure the area is spacious enough for you to maneuver around the board.
Second, proximity to an electrical outlet is necessary for plugging in your iron. If you’re in a small apartment, try setting up near a wall to minimize the board’s footprint while leaving room for the iron’s cord.
You should also consider lighting; a well-lit area can help you spot wrinkles and folds more easily. Once you’ve picked an ideal location, clear the area of any obstructions to prepare for the next steps.
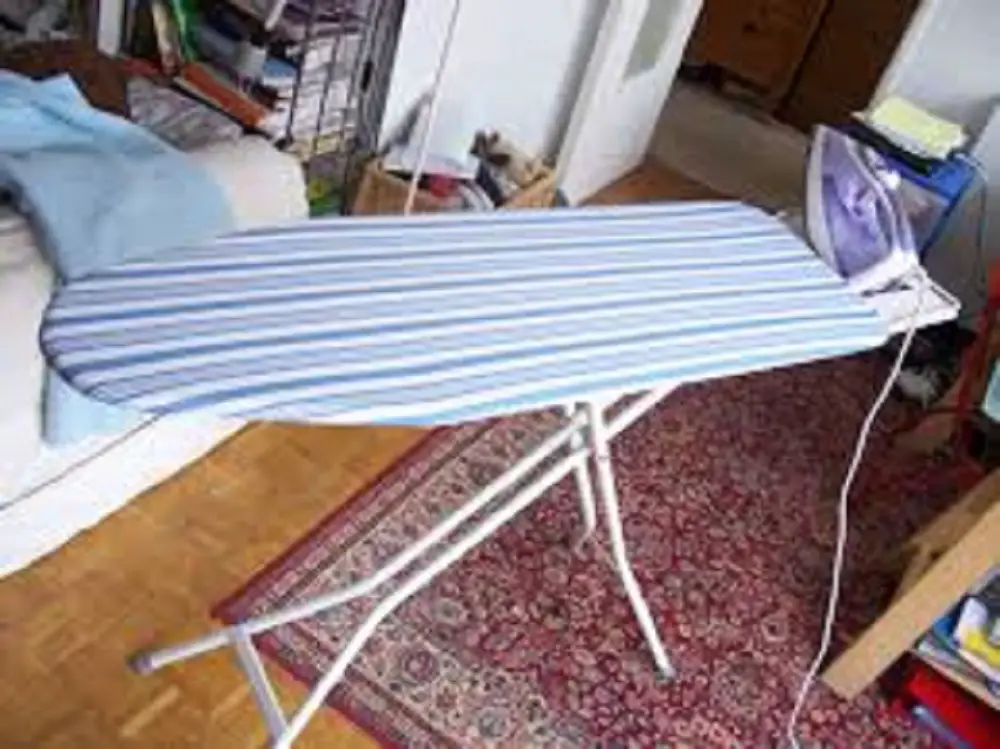
Step 2: Unfold the Ironing Board Legs
Ironing boards usually have a latch or lever that keeps the legs securely folded when not in use. To set up your ironing board, you’ll need to locate this latch.
It’s often found at the center or near the narrow end of the board. Gently release this mechanism while holding the board steady with your other hand.
As you release the latch, begin to carefully extend the legs outwards. Ensure that each leg clicks into its locked position. This mechanism prevents the board from collapsing while you’re ironing, thereby ensuring your safety during the process.
For more articles like this one click here – How to Iron: Easy Guide to Mastering the Art of Ironing
Step 3: Adjust the Height
Comfort is essential when you’re dealing with a task like ironing, so adjusting the height of your board can make a significant difference.
Most modern ironing boards come with a height-adjustment feature, generally operated through a knob or lever found near the base. To find the right height for you, stand next to the board and raise or lower it so that it reaches about hip level.
This setup will enable you to iron without putting unnecessary strain on your back or arms. After adjusting the height, give the knob or lever a good tightening to ensure the board remains stable.
Step 4: Ensure Stability
Once you’ve unfolded and adjusted the ironing board, the next step is to ensure it’s stable. Gently push the board from various angles to see if it wobbles or feels uneven.
If it does, most ironing boards have adjustable feet or screws that you can turn to level the board properly.
Stability is crucial because an unstable ironing board can be a safety hazard, especially when you’re dealing with a hot iron. Taking a few moments to ensure your board is steady can prevent accidents later on.
Step 5: Place the Iron Rest
Many ironing boards come equipped with an iron rest, a small platform or shelf attached to the board where you can safely place the hot iron when not in use.
If your ironing board includes this feature, make sure to swing it out or attach it according to the manufacturer’s instructions.
If your board doesn’t come with an iron rest, you might consider purchasing a standalone one. Not only does an iron rest provide a secure place for your iron, but it also frees up space on the board for a more efficient ironing process.
Additional Tips
Now that you know how to set up an ironing board, here are some additional tips to enhance your ironing experience:
- Ironing Mat: Consider using an ironing mat for added protection. These mats are designed to be heat resistant and can protect the surface underneath your ironing board.
- Portable Ironing Boards: If you have limited space, you might consider a portable or tabletop ironing board. These are smaller and easier to store but remember to place them on a stable surface before starting.
- Ironing Board Covers: A quality ironing board cover can make ironing easier by providing a smoother surface. Many also come with markings to help you align your clothes perfectly.
- Steam Setting: Ensure your iron’s steam settings are adjusted according to the fabric you’re ironing. This not only improves the quality of your ironing but also increases the lifespan of your clothes.
Frequently Asked Questions
Here are some commonly asked questions about how to set up ironing boards:
- Can I set up an ironing board on a carpet?
Yes, you can set up an ironing board on a carpet, but make sure it’s stable and doesn’t wobble. Keep in mind that setting up on a hard floor is generally more stable. - Do all ironing boards come with an iron rest?
No, not all ironing boards come with an iron rest. Check the product features before purchasing if this is important to you. - How often should I replace my ironing board cover?
The frequency with which you should replace your ironing board cover depends on usage. Generally, a yearly replacement is advised for regular use.
Conclusion: How to Set Up Ironing Board
By now, you should be fully equipped with the knowledge of how to set up ironing board efficiently and safely.
These five simple steps take you from choosing the right location to ensuring that your board is stable and functional. By following this guide, you’re on your way to turning the chore of ironing into a more pleasurable, less daunting task. Happy ironing!