If you’re looking to master the art of ironing perler beads with parchment paper, you’re in the right place. This comprehensive guide will walk you through the entire process, breaking it down into easy-to-follow steps so that even a complete novice can create beautiful perler bead designs.
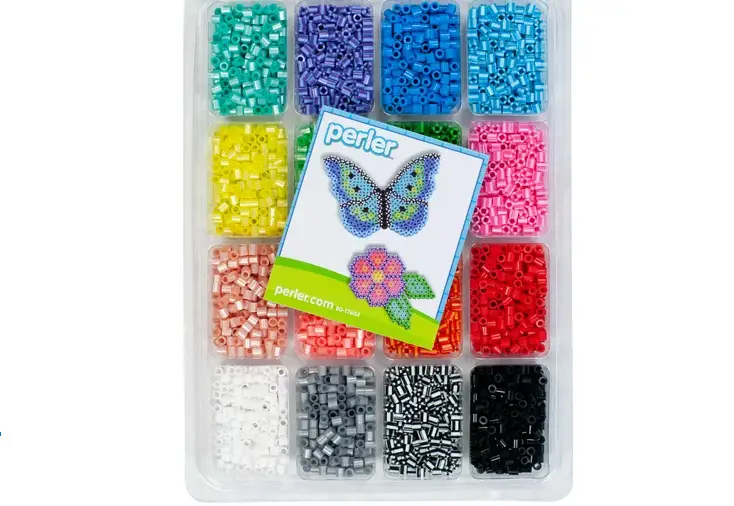
You can get this set of perler beads by clicking here
What You Will Need
Before you dive into the process of ironing perler beads, it’s essential to have the right tools and materials. Gathering these items in advance ensures a smooth and efficient process. Here’s what you’ll need:
- Perler Beads: These are specialized beads made for this particular craft. They come in various colors and sizes.
- Pegboard: A pegboard holds the perler beads in place as you arrange your design. It usually comes with your perler bead set.
- Parchment Paper: This is the crucial material for the ironing process. It helps distribute the heat evenly and prevents the beads from sticking to the iron.
- Iron: A standard household iron will do. Make sure it’s clean and set to a medium heat setting.
- Flat surface: A heat-resistant surface, like a wooden table or countertop, will serve as your workspace.
Why Use Parchment Paper?
When ironing perler beads, parchment paper plays a vital role in ensuring a quality outcome. Using parchment paper prevents the beads from sticking to the iron, which is a common issue when using other materials like wax paper or aluminum foil.
Parchment paper also helps distribute the heat more evenly, allowing for a smoother, more consistent melt. Its non-stick surface ensures that you can easily remove the finished product without damaging it.
Click here fore more articles like this – How to Iron: Easy Guide to Mastering the Art of Ironing
Step 1: Prepare Your Work Area
First things first, you’ll want to prepare your work area. Choose a flat, stable surface where you can lay out all your materials.
Make sure the space is clean and free from any items that might obstruct or interfere with your project. You might also want to keep a small bowl nearby to hold extra perler beads as you work on your design.
Step 2: Arrange Your Perler Beads on the Pegboard
Now it’s time to let your creativity shine. Place your pegboard on your work surface and start arranging your perler beads. You can create a design from scratch or follow a pre-existing pattern.
The key is to place the beads close to each other without overlapping, filling in the pegboard holes. Make sure the beads are snugly fitted against one another for a seamless final product.
Step 3: Place the Parchment Paper Over the Beads
Once you’re satisfied with your design, it’s time to prepare for ironing. Carefully lay a piece of parchment paper over the perler beads, ensuring that it fully covers your design.
Make sure there are no wrinkles or folds in the paper, as this could affect the ironing process.
Step 4: Preheat the Iron
Plug in your iron and set it to a medium heat setting. It’s essential to allow the iron to fully heat up before you start ironing.
This usually takes a few minutes. While you’re waiting, you can double-check your design and make any last-minute adjustments.
Step 5: Begin Ironing
With your iron preheated and your parchment paper in place, you can begin ironing. Gently place the iron on top of the parchment paper and start making small, circular motions.
Consistency is key; maintain a steady speed and pressure to ensure an even melt. Keep the iron moving to avoid overheating any particular section of beads.
Step 6: Inspect and Cool
Once you’ve finished ironing, lift the parchment paper carefully to inspect the beads. If they appear to be evenly melted, you’ve done well.
Remove the parchment paper and let your design cool for several minutes. It’s crucial to allow enough time for the beads to solidify before handling.
Step 7: Final Touches
Your perler bead creation should now be cooled and solid. You can now remove it from the pegboard and admire your handiwork.
Whether you choose to display it or use it as part of another project, you’ve successfully completed the process of ironing perler beads with parchment paper.
Ironing Perler Beads with Parchment Paper: Conclusion
Ironing perler beads with parchment paper is an effective way to create beautiful and durable crafts. By following this step-by-step guide, you’ll be well on your way to becoming an expert in this enjoyable and rewarding hobby.