Understanding how long do you iron perler beads is essential for anyone diving into this delightful craft. This comprehensive guide will remove any ambiguity and walk you through the entire process, step-by-step.
Sally M, CC BY-SA 2.0 https://creativecommons.org/licenses/by-sa/2.0, via Wikimedia Commons
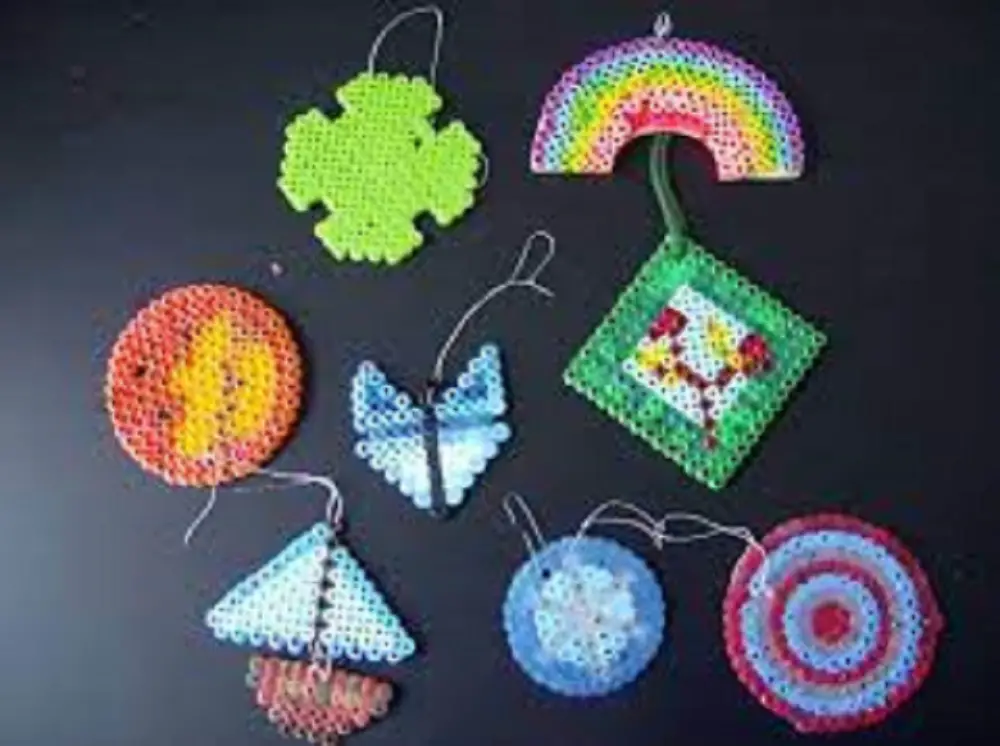
What Are Perler Beads?
Perler beads are small, heat-activated beads that you can lay on a pegboard to form designs and then fuse together with an iron.
These beads offer a fun and affordable way to create countless crafts, from simple shapes and characters to detailed works of pixel art. As simple as the process seems, knowing the optimal ironing time is crucial for a successful result.
Tools Needed
- Perler beads: These are the essential components of your design.
- Pegboard: You’ll place your beads on this board in the pattern you desire.
- Iron: A standard household iron will do the job.
- Parchment paper: This will prevent the beads from sticking to the iron.
- Tweezers: These can be useful for placing small beads.
You likely have some of these items around the house, and specialized materials like Perler beads and pegboards can be purchased from craft stores or online.
Preparation: Setting Up Your Workspace
Before you ask how long do you iron perler beads, it’s important to prepare. A well-organized workspace can make the difference between a smooth process and a stressful one.
Place an ironing board or heat-resistant surface on a stable platform within reach of an electrical outlet. Plug in your iron and set it to a medium heat setting. Make sure the steam setting is off, as you’ll be dry ironing the beads.
For more articles like this click here – How to Iron: Easy Guide to Mastering the Art of Ironing
Step 1: Place Parchment Paper Over the Design
After arranging your Perler beads on the pegboard, the next step is to carefully lay a sheet of parchment paper over your design.
This parchment paper serves a crucial role: it prevents the melting beads from sticking to the iron. Be cautious when placing the paper to avoid disturbing the bead layout on the pegboard.
Step 2: Ironing Time – How Long Do You Iron Perler Beads?
Now comes the core question: how long do you iron perler beads? The answer varies but is generally between 10 to 20 seconds per section.
However, the exact time can depend on the heat of your iron and the specific beads you’re using. Begin by gently moving the iron in a circular motion over the parchment paper.
Pay attention to the beads; you’ll see them start to melt and fuse together. Once the beads look slightly flattened and have adhered to each other, it’s a sign you can move to another section or remove the iron.
Step 3: Let It Cool
After ironing, it’s vital to let your design sit and cool for at least five minutes. Removing the parchment paper or trying to lift the design too quickly can result in deformities or breaks.
Patience is key here; allow the beads to cool and solidify to ensure your design holds its shape.
Step 4: Flip and Repeat
If you want a design that’s more durable and even on both sides, you’ll need to flip your artwork and iron the other side as well.
Follow the same steps: cover with parchment paper and apply the iron for approximately the same time as the first side.
Again, how long do you iron perler beads? Stick to the 10-20 second rule per section unless your particular brand of beads suggests otherwise.
Common Mistakes to Avoid
- Ironing for too long: Over-ironing can cause the beads to melt excessively, ruining your design.
- Uneven ironing: Always remember to move the iron in a circular motion for even heat distribution.
Avoiding these mistakes will help you perfect the art of Perler bead crafting.
Additional Tips
If you’re looking to elevate your skills beyond just knowing how long to iron perler beads, here are some pro tips that can help you master the craft:
- Variable Iron Heat: Some crafters find that starting with lower heat and gradually increasing it can offer better control over the fusing process.
- Double-layer Parchment: If you’re concerned about sticking, using two layers of parchment paper can offer extra protection.
Frequently Asked Questions
Can I use wax paper instead of parchment paper?
It’s highly recommended to use parchment paper over wax paper, as wax paper can stick to the beads and make the process messy.
How do I know if I’ve ironed the beads too much?
If the beads appear overly flattened or lose their circular shape, it’s likely that they have been ironed for too long. Consistent practice will help you get a feel for the right ironing time.
Can I re-iron if the beads haven’t fused properly?
Yes, if you find that the beads haven’t fused sufficiently, you can re-iron them. Be cautious when doing so; apply the iron in short bursts to avoid over-melting.
How Long Do You Iron Perler Beads: Conclusion
Now that you know how long to iron perler beads, you’re well-equipped to tackle your next crafting project with confidence. The key is to practice, be patient, and always pay attention to detail. Happy crafting!