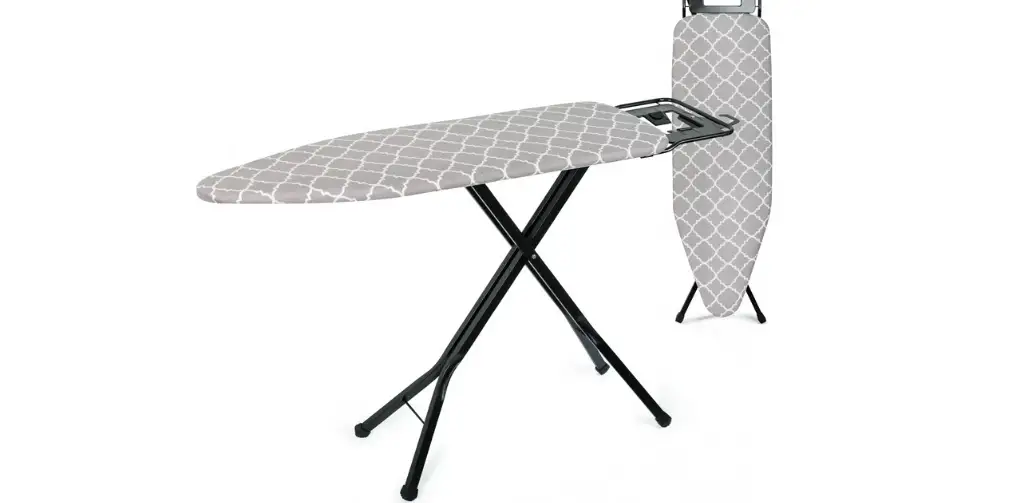
Dealing with unstable or broken ironing board legs can be both frustrating and time-consuming. This article on how to fix ironing board legs will guide you through the entire process, making it a hassle-free task.

Identify the Problem
The first thing you need to do when trying to fix ironing board legs is determine the specific issue with your ironing board legs. Is the problem that they’re loose and wobbly, or are they outright broken? This will dictate the tools and materials you’ll need as well as the repair method. Here’s how to identify:
- Place the ironing board on a flat surface.
- Gently shake the board to see if the legs wobble or if they’re detached.
- Inspect each leg visually for any obvious damage like cracks or breaks.
- Make a note of your observations to reference during the repair process.
Gather the Tools/Material
Having the right tools at your disposal is essential for a smooth repair process. Depending on whether you’re dealing with loose or broken legs, you may need some or all of the following:
- Screwdriver
- Adjustable wrench
- Wood glue or metal adhesive
- Measuring tape
- Cleaning cloths
- Clamps for holding pieces together (optional)
Click here for more articles like this – How to Iron: Easy Guide to Mastering the Art of Ironing
Tightening Loose Legs (How to Fix Ironing Board Legs)
If the issue with your ironing board is that the legs are loose, here’s a detailed step-by-step guide on how to fix them:
- Place your ironing board upside-down on a flat surface, ensuring it’s stable.
- Identify the screws or bolts connecting the legs to the board.
- Use your hand to check the tightness of each screw or bolt initially.
- If loose, use a screwdriver or adjustable wrench to tighten each one. Turn clockwise until snug but not overtight to avoid stripping the threads.
- Once all screws or bolts are tightened, turn the board right-side up and test for stability by applying slight pressure.
Repairing Broken Legs (How to Fix Ironing Board Legs)
If you’re facing the more complicated issue of broken legs on your ironing board, here’s how to go about fixing them:
- Remove the damaged leg by loosening the screws or bolts with a screwdriver or adjustable wrench.
- Once the leg is removed, clean both the leg and the attachment area on the board with a dry cloth to remove any dust or debris.
- Select the appropriate adhesive. For wooden legs, wood glue is ideal, while metal adhesive works for metal legs.
- Apply a thin, even layer of the adhesive to both the leg and attachment area.
- Reattach the leg, lining up any screw holes.
- If your adhesive requires clamping for better bonding, use clamps to hold the leg in place while the adhesive dries.
- Allow ample time for the adhesive to dry as per the manufacturer’s instructions.
- Once dry, re-tighten the screws or bolts and test the board for stability.
Safety Tips
When fixing ironing board legs, it’s crucial to remember some safety tips to ensure you don’t injure yourself or cause further damage to the ironing board:
- Always work in a well-lit area to clearly see what you’re doing.
- If using adhesives, work in a well-ventilated area and read the manufacturer’s guidelines for use and drying time.
- Always put your tools away safely after use to prevent accidents.
- Before using the ironing board after repairs, test its stability to ensure that it’s safe for use.
When to Replace Your Ironing Board
Sometimes, knowing how to fix ironing board legs isn’t enough if your board has seen better days and is beyond repair. Here are some signs that it might be time to invest in a new ironing board:
- Multiple legs are broken or damaged beyond simple repair.
- The board surface is warped, affecting your ironing quality.
- You notice rust or other forms of deterioration that could stain your clothes.
- The cost of repairs approaches or exceeds the cost of a new ironing board.
Frequently Asked Questions
Can I use household items for repairs?
Yes, in some cases, household items like duct tape can be used for a temporary fix. However, these are not long-term solutions and proper repair methods should be employed for durability.
How long does it take for adhesive to dry?
The drying time for adhesives varies by type and brand. Always read the manufacturer’s instructions for the specific time required.
Can I paint my ironing board legs after fixing them?
Yes, you can paint the legs after fixing them. Just make sure to use heat-resistant paint and allow adequate time for it to dry before using the ironing board.
Conclusion: How to Fix Ironing Board Legs
In this comprehensive guide, we’ve covered how to fix ironing board legs, whether they’re loose or broken. By following these step-by-step instructions, you should be able to extend the life of your ironing board and save yourself the cost of a replacement.
Remember to always prioritize safety when performing these repairs and don’t hesitate to consult a professional if you encounter any issues beyond your skill level.