Are you tired of your boring or old and worn ironing board pad? Or perhaps, it doesn’t suit your needs anymore? Or maybe you just want to add your special touch to your ironing board pad? Well, whatever the case may be, we’ve got you covered. This article guides you on how to make your own ironing board pad that you’ll absolutely love!
Apart from the fact that you get to have your style of fabric, it’s also cost-effective! Plus, it’s a good way to use up some free time that you may have on your hands.
Let’s get to it!
What Do You Need The Ironing Pad For?
Obviously, we understand that you need it as a surface in order to iron out creases from clothes, sheets, and many other fabrics.
But, are you making this for the sole purpose of ironing large items of clothing, that is, clothes that take up a lot of space on the board? Or you need it for smaller items of clothing? Or maybe both?
Deciding which one suits your needs helps to determine the resources that would be needed.
To make an ironing board pad, you’ll be needing a few things. We’ll talk about them in the next section.
What Do You Need To Make An Ironing Board Pad?
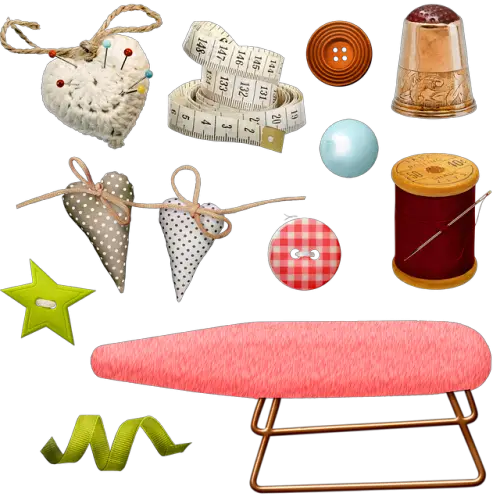
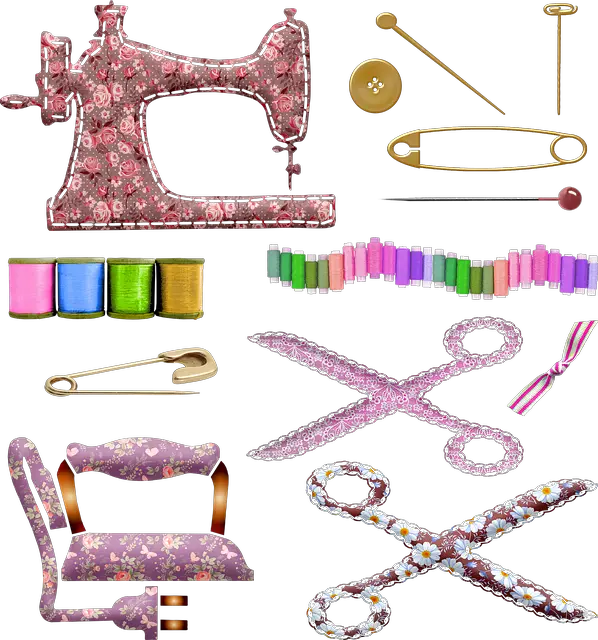
In order to make an ironing board pad, here are a few things you need:
- Fabric
- A cardboard sheet
- A marker or pen
- An ironing padding material
- A pair of scissors
- Thread and needles
So you have all of these, what’s next?
Keep on reading to learn more.
Alternatively, you can check out the video below; especially if you are not only interested in changing the pad but the cover as well.
How To Make A Fresh Ironing Board Pad
Step 1
The first thing you need to do is to decide the shape you want your ironing board to be.
A square, rectangle or even the typical shape of an ironing board would work perfectly.
Step 2
The next thing to do is to make a pattern.
Why exactly do you need one?
You need it as a guide to cut out the fabric, and the padding material.
You can draw out the pattern with a pen or marker on cardboard.
Speaking of fabric, just in case you don’t have one yet and you are not a fan of colors, you may want to consider buying this Therma-Flec heat resistant fabric.
Step 3
The next step is to cut out the ironing pad which is usually in the middle of the fabric.
It is this pad that makes the ironing board firm and suitable for clothes to rest on.
So, just cut the ironing pad according to the pattern and set aside.
By the way, we suggest using a material that is 100% cotton for the padding.
This is simply because cotton absorbs heat and vapor during ironing.

Click here to check out this fabric and buy it on Amazon!
Step 4
Cut the fabric, but make it slightly bigger than the pattern. This is to create ample allowance for sewing and joining.
Note: It’s advisable to iron out the fabric after purchase.
Why? This is because most times new fabrics tend to look a bit rough, and you wouldn’t want anything short of a smooth and neat ironing board pad, do you?
Step 5
So fabric’s ready! Padding is also ready!
What’s next?
The next step is to join everything together, that is, the fabric and the padding.
So, if you have a phobia for needles, well, this would probably be your least favorite task in the project. But, a thimble on your finger may make the task a lot easier for you.
All you need to do now is to make sure the padding is firm.
To join the fabric, place the pad on the inner part of the fabric, then sew along the padding neatly.
By the way, you can use any stitching type of your choice, but we recommend a zig-zag stitch.
Step 6
Place, a fresh piece of cut-out fabric on the combination of padding and fabric you made in step 5 and sew them together.
Can you picture your ironing pad already?
Step 7
Most people like to attach strings on the sides of their ironing board pad, but it’s not compulsory but it is necessary.
Drawstrings are mostly needed to make the cover and pad firm on the ironing board itself.
To fix the string in place, you need to create a casing for the strings on both sides. This should be done before the pad is assembled.
The casing doesn’t have to be so big — just enough to allow a string in.
Step 8
Next thing is to create an opening for the strings. Most times a buttonhole does the job well.
When the strings are out, you can test and draw them.
You would probably notice that they made the fabric a little tighter or firmer towards the ends.
And that is the purpose of the strings!
Now your ironing pad is all set and ready for your first ironing task!
Meanwhile, if you’ll like a bigger challenge, then you may want to check out this video for tips on how to make a pressing board for quilting and sewing.
FAQs on Ironing Board Pad and Cover
What is the Best Fabric for Ironing Board Cover?
The most suitable fabric for ironing board covers is Teflon and organic cotton that is unbleached.
This type of cotton is recommended because it is 100% cotton and is stain, water, and heat resistant; which are 3 important features that an ironing surface should have.
Teflon is also suitable for use as a cover because it has some Dracron — a component that provides a thick texture and a matte finish for ironing convenience.
Dacron also makes Teflon a suitable non-slip surface for ironing.
What is the Best Fabric for Ironing Board Pad?
Typically it is advisable to use wool felt for the padding of your ironing board. Wool is a better material for padding than cotton because it doesn’t hold as much moisture as cotton will.
Besides, wool is more heat-resistant than the commonly used foam and it often comes in neutral colors that won’t show through your ironing board cover.
The product below is a classical example of the kind of quality that your ironing cover and pad should have.

Click here to check out and buy this product on Amazon!
Can Ironing Board Covers Be Washed?
More often than not, ironing board covers can be washed.
The fact that a good number of ironing board covers have silicone or Teflon coating and are made from cotton with some felt material makes it easy to clean them.
These materials typically prevent product buildup and starch from sticking to them.
However, with frequent use, your ironing cover may get really dirty and the dirt may even get on your freshly-laundered clothes when you iron them.
So, how can you wash your ironing board cover?
First of all, just like garments, ironing board covers come with care labels. So, it helps to look out for the one on your cover and follow the manufacturer’s instructions.
But if you can’t find the label or it appears that yours doesn’t have one, then these cleaning tips will also be useful to you:
i. Set up your ironing board fully like you would when you want to iron your clothes.
ii. Loosen any fasteners like Velcro straps, zippers, or drawstrings.
iii. Then remove the pad and cover from the rest of the board.
iv. Next, clean the frame with an appropriate cleaner (metal cleaner for metal frames) and be sure to dry it thoroughly.
v. If your ironing cover has a scorch and stain protective coating, then soak a sponge in mild laundry detergent and use it to wipe off any debris or grime from the cover. Then hang your cover out to air-dry.
vi. If the cover is 100% cotton or felt, then you can wash it in your washing machine. But use mild laundry detergent and choose the cycle for delicate clothes. Then hang your cover to dry.
vii. As soon as your cover and the frame are completely dry, replace the cover on the board and fasten it in place with the fastener attached to it.
viii. Finally, just in case there are wrinkles on your cover from the washing process, turn on your iron and iron the cover while applying considerable pressure to your board.
Check out this video for general cleaning tips from how to clean your iron to how to clean your ironing cover.
Bottom Line
Making an ironing board pad is no child’s play, as it requires some amount of precision and experience (in sewing or stitching, at least). But on the bright side, it’s a fun project to work on and it saves money too!
You’ll only be needing a few materials for the project; fabrics, ironing padding material, cardboard, marker pen and the other items listed above.
If you follow the steps carefully, you should have your ironing board pad in no time!
One more thing though, if there’s a chance that you may need to get ironing board covers, you can take advantage of our expert advice in this article before you get an ironing cover for your pressing board.
